
May 30, 2019 - Updated post to show new App Registration experience.
This script demonstrates how to retrieve the Office 365 Service Health Data using the Office 365 Management API, and send the email report using Microsoft Graph API.
The logic flow is simple:
- Retrieve Office 365 Service Health Record (this is the only action done during the first run, saved to new.csv)
- Read Old Records from the file (old.csv)
- Compare retrieved records with old records (new.csv VS old.csv)
- Report if there are new or updated records (updated.csv)
What is covered by this post?
- App Registration in Azure AD
- Configuring the Script
- Running the Script and Generating Outputs / Reports
What is NOT covered by this post?
This post does not cover the “How-To” of the said APIs, because they can already be found by following these links:- Office 365 Management APIs - https://docs.microsoft.com/en-us/office/office-365-management-api/
- Microsoft Graph API - https://developer.microsoft.com/en-us/graph/docs/concepts/overview
Requirements
- Application Registration in Azure AD (Application ID + Key + Permissions)
- Exchange Online Mailbox (User or Shared Mailbox, for sending reports)
Download and Change Logs
v1.5 (latest) - https://github.com/junecastillote/Get-O365HealthReport- code cleanup
- added code to cater to the new App Registration Keys special characters
- code cleanup
- fixed JSON conversion for the email report
- added "exclusion" feature. (requested from this issue)
- the exclusions.csv file inside the \resource folder can now be used to exclude workloads from the report.
- Modified to also check the changes in "Status" to trigger an update alert. (eg. Service Degradation to Service Restored). This is because I observed that some events' Last Updated Time does not change but the Status change which is not getting captured by the previous script.
- Added “organizationName” field in config.xml
- Removed “mailSubject” field from config.xml
- Send one email per event (alerts are no longer consolidated in one single email)
- Initial build
App Registration
Note: Your account must be a Global Admin- Go to Azure Active Directory > App Registrations

- Click New Registration
- Fill out the Name, Supported account types and Redirect URI as shown below, then click Create


- Then click Register
- Once the App is registered, copy the Application ID for later use.

- Click Certificates and Secrets
- Click New client secret

- Type in the Description and select the expiration for your key, then click Add

- After clicking Add, the Key will be generated. You must copy this key value because it will not be shown again.

- Go to API permissions and make sure you add these permissions

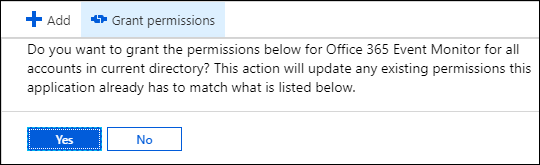
- Once Required Permissions are added, click Grant admin consent..

- Click Yes
Script Configuration
Open the config.xml file and edit the values as necessary like the example below:
sendEmail – set this to TRUE or FALSE depending on whether you want the report sent thru email.
testMode – set this to TRUE or FALSE depending on whether you want to run in test mode or not. Test Mode will treat ALL items retrieved from the service health dashboard as NEW or UPDATE. When you’re ready to put this script in production, set this to FALSE
clientID – this is the Application ID you copied from the App Registration in Azure AD
clientSecret – this is the Key you copied from the App Registration in Azure AD
tenantDomain – this is your Office 365 Tenant Domain
toAddress – your intended recipients of the report, separate multiple recipients with a comma with no spaces.
fromAddress – the primary smtp address of the Shared Mailbox or User Mailbox you want to use for sending the email report.
organizationName – the name of your organization to reflect in the alert.
How to Exclude Workloads from the Report
Note: This is applicable only from version 1.3.- Open the \resources\exclusions.csv file
- Change the Excluded value of the workload you want to exclude to 1 (0=include, 1=include)

Running the Script
IMPORTANT: In the first run, whether in Test Mode or not, will only generate the data that will be needed for future run comparisons.In this example, the script is in run Test Mode.

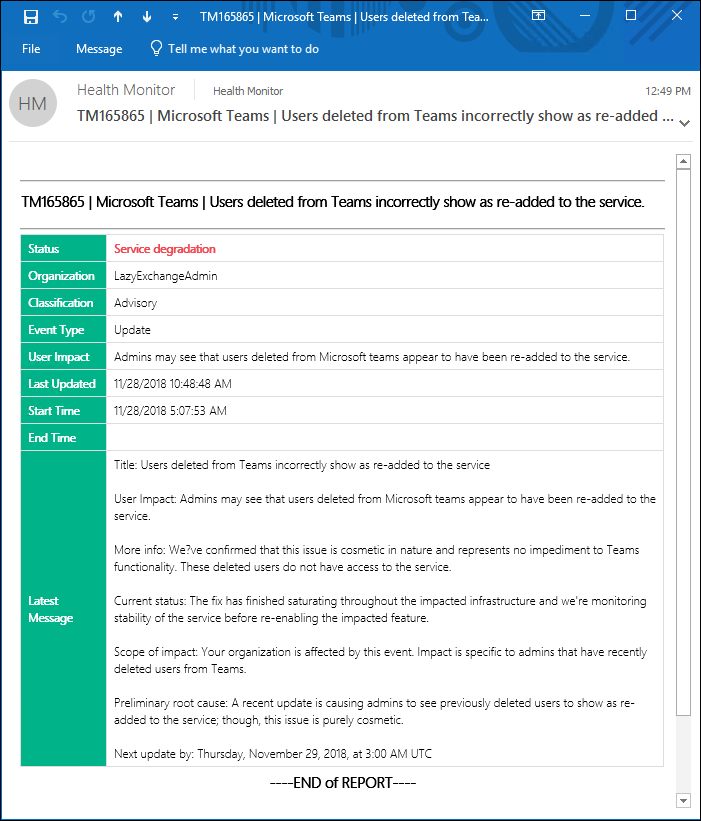
Sample Output
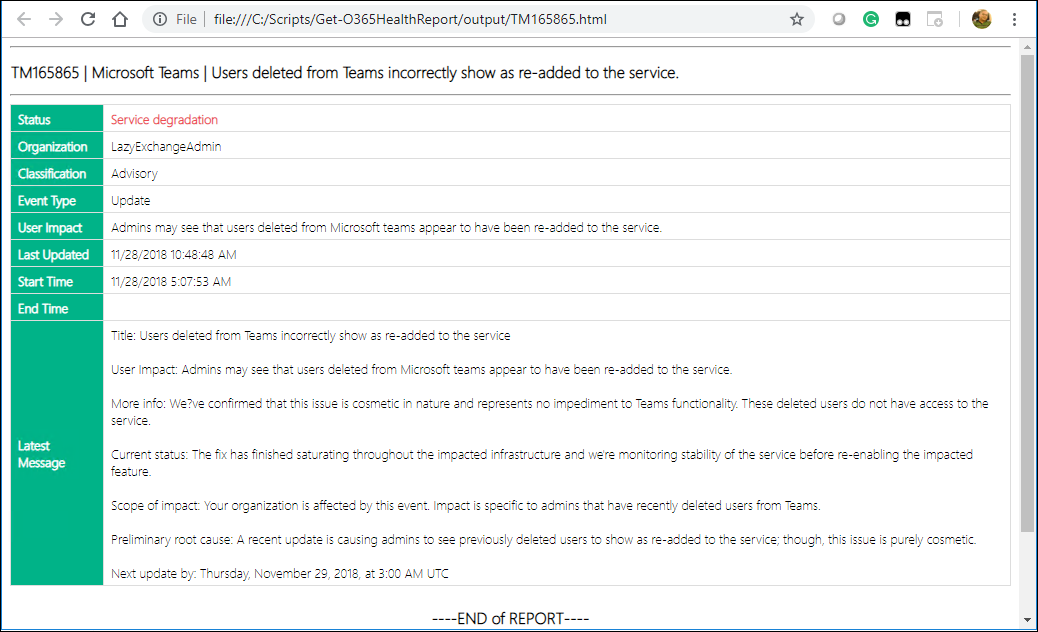
HTML

This script is functional, but I’m sure there can be many improvements. Or perhaps someone else has accomplished this differently. So please feel free to comment or modify and improve, just please don’t forget to credit the original source.


